
Many of you may look at this and think "Yogurt is way too much effort. I'm not even going to try." DO NOT THINK THAT WAY. I'm telling you, this is easy stuff. You can do it. I believe in you, really. Let me tell you my yogurt story.
At the end of last summer I suddenly had the urge to make everything I possibly could, rather than buy it. Perhaps this came as a result of moving to a new state and depleting our bank accounts in the process, but I think I just had a realization that there are so many "conveniences" that are actually really great opportunities. Not only do I get serious satisfaction from saving money on tubs of salsa and yogurt, but I really enjoy making them! This may be a no-brainer, but I love cooking - it is what I do for fun. Some may accuse me of being overly domestic, but what fault can you find in doing something you love? I don't cook for the approval of others: I cook because I love it.
As soon as I realized yogurt was completely achievable, and laughably easy to make, I set out learning how to make it. If you google "how to make yogurt" or "homemade yogurt recipe" you'll find plenty of instructional sites - all of which I read, tweaked through weeks of experimenting, and now have arrived at my favorite way of making yogurt. Derek is a huge fan of Brown Cow Cream on Top Vanilla yogurt - which is the standard I held my yogurt success to. Turns out it wasn't too difficult to get there, or even surpass it (maybe he's just saying mine is better to make me happy... but I'm going to go ahead and believe that). If you really don't have any more time to make it yourself then have a look at this Euro Cuisine YMX650 Yogurt Maker Review.
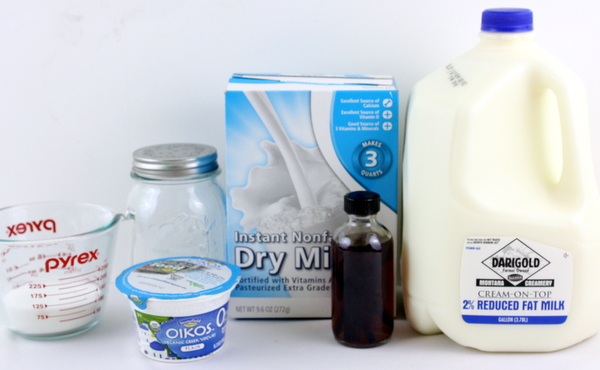
These are the things you'll need to make vanilla yogurt. If you're going for plain, just omit the sugar and the vanilla. Milk (the fattier the better, cream on top is the winner), sugar, vanilla, powdered milk, and a yogurt starter. If this is your first time, buy a little container of plain yogurt. The more organic the better - none of this ultra-pasteurized business (same goes for the milk!). I'm serious about that - it won't work if you have ultra-pasteurized milk. Also get a few jars you can put the final product in. That's helpful.
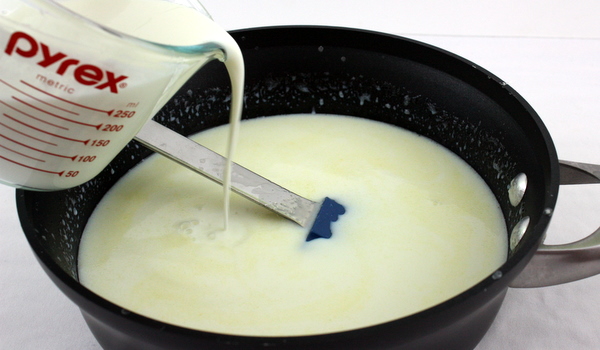
Heat the milk to 180 F in a large saucepan (or cheat and heat it in the microwave to begin with). Stir often to avoid burning. The yellow layer on the milk in my pictures is because I've started using cream top whole milk - delicious. It looks odd here, but it turns out really well.
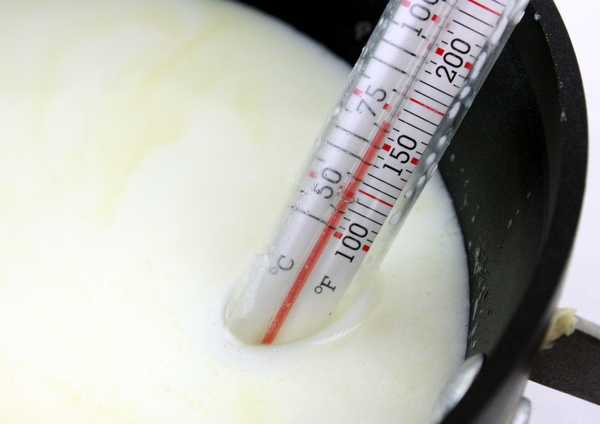
Once it is at 180 F, remove from the heat and stir in the sugar. You should also stir in the powdered milk at this time. At first I was anti-powered milk; however, it makes a huge difference in the final texture.
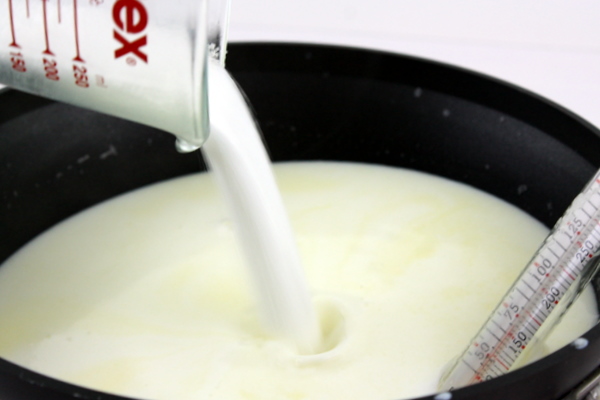
At this point the milk needs to cool to 105 F. While that is happening (I recommend a cold water bath or a freezing garage floor), mix the yogurt starter with the vanilla. Make it smooooth.
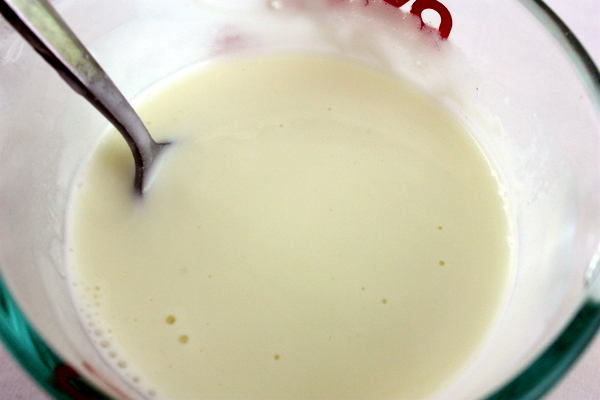
Once the milk has cooled to 105 F, take about ½ cup and mix it with the yogurt starter/vanilla mixture. Make this smooth!! Once it's smooth, pour it back into the rest of the milk and mix gently until it is all incorporated.
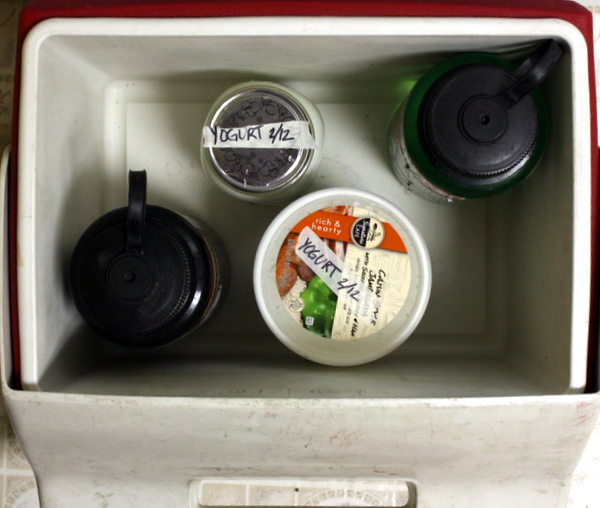
Pour the mixture into whatever sterilized containers you've chosen, seal them, and place them in incubation for 12-24 hours. I like to incubate at right around 105 degrees, so I usually fill water bottles with water slightly hotter than that and place them in a cooler. I incubate for 24 hours to maximize the probiotic growth and ensure the thickest, creamiest result possible.
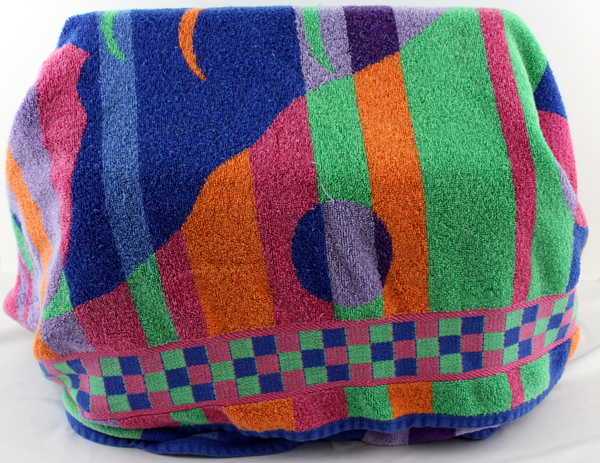
In order to really keep the heat in the cooler (err, you know what I mean), I wrap a thick beach towel around the entire thing. I skipped this once and it definitely lost more heat - so don't skip this part!
Once the incubation is complete, let it rest up in the fridge for a few hours (it will thicken a bit more), then eat this goodness up!
Print
How to Make Yogurt
- Prep Time: 15 mins
- Cook Time: 10 mins
- Total Time: 25 minutes
- Yield: ½ gallon 1x
Description
A quick and easy recipe for healthy, clean yogurt that you can make at home.
Ingredients
- ½ gallon milk, preferably whole milk, NOT ultra-pasteurized
- ½ cup plain, organic yogurt, as fresh as possible, room temperature
- 2 tsp vanilla extract
- ⅓ cup sugar
- 3 Tbsp powdered milk
Instructions
- Sterilize any containers or instruments you will be using for the process. I do this in the dishwasher, but you can also do this with boiling water.
- Prepare your incubator by filling water bottles with water around 110 F and placing them into a container, such as a cooler, that will retain heat.
- Heat the milk to 180 F, stirring with a spatula so as not to burn it.
- Remove the milk from the heat, and stir in sugar and powdered milk.
- Place the pan with the milk in a cool water bath, or in a cold place until the temperature is 105 F.
- In a separate container, mix the yogurt starter with the vanilla until smooth. Add in ½ cup of the 105 F milk, and stir until smooth.
- Add the yogurt mixture to there rest of the milk and stir until fully incorporated.
- Pour the mixture into your prepared jars, then place the jars in your prepared incubator and seal as well as possible.
- After 24 hours, move the jars to the refrigerator and let chill 2 hours. Enjoy!
Notes
- It is important not to use ultra-pasteurized products because they will not allow the appropriate organisms to grow, therefore resulting in ... milk. Your yogurt will never actually grow and firm up!
- The reason to cool the milk down before adding the yogurt is that if it is too hot the organisms will die. They need just the right amount of heat to grow, not be overheated and die!
kathryn says
I've started to get on the powdered milk train and I think I'm liking where the train is going. Some maple syrup sweetened yogurt is on my list of post-ski rewards. As long as I still hurt I think I also still get treats, right?
mary says
haha absolutely!! That's a great idea with the maple syrup... maybe I'll try that in place of the sugar next time I make it (tonight!). I'm definitely feeling it today 🙂