
Despite the fact that Bozeman's "last frost date" is over two months away, I think spring is officially here. Maybe even summer. Yesterday, I worked in the garden (IN SHORTS!) for a good chunk of the afternoon, and definitely broke a sweat. Then, we went on a ride in which no arm/leg warmers were needed. Just shorts and jerseys! WHAT!?
Also, on the baking agenda lately are things like pie! Fruit pie, that is. Fruit pie is a total summer treat. As much as I love a good pecan pie, there's just something wonderful about a strawberry-nectarine pie, or other delicious fruity combo. Keep your eyes peeled... I'll likely be pie-bombing you in the next month or so.
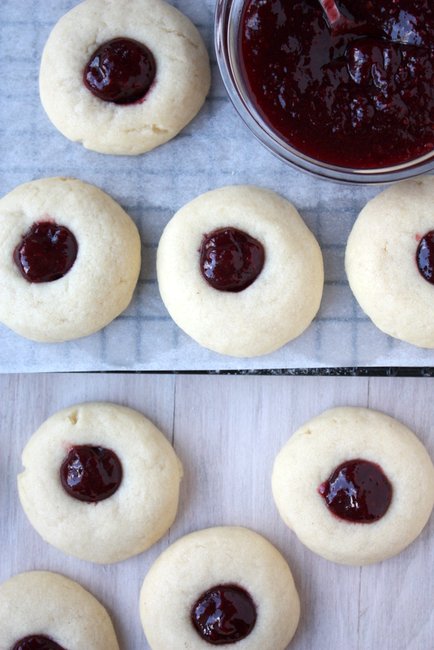
In the meantime, while fresh fruits are still not quite the easiest thing to get around here, I'm sticking with jam. Really, delicious, raspberry jam. You can honestly choose whatever kind of jam you prefer — apricot, blackberry, blueberry, MIXED BERRY (OH!) — but make sure it's top notch. NO JELLY ALLOWED. Pick a thick, seedy, eat-by-the-spoon jam. And feel free to do so, plenty.
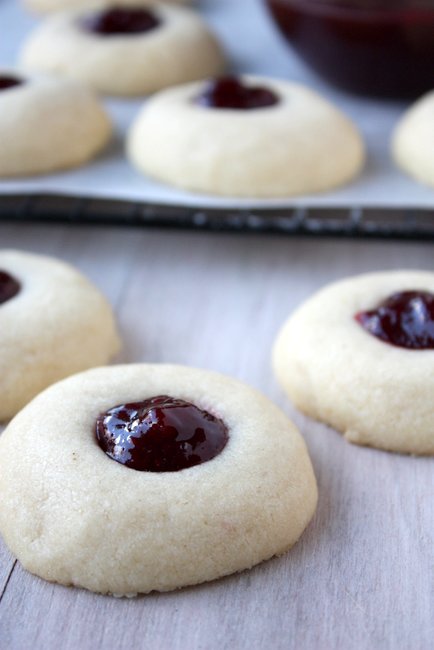
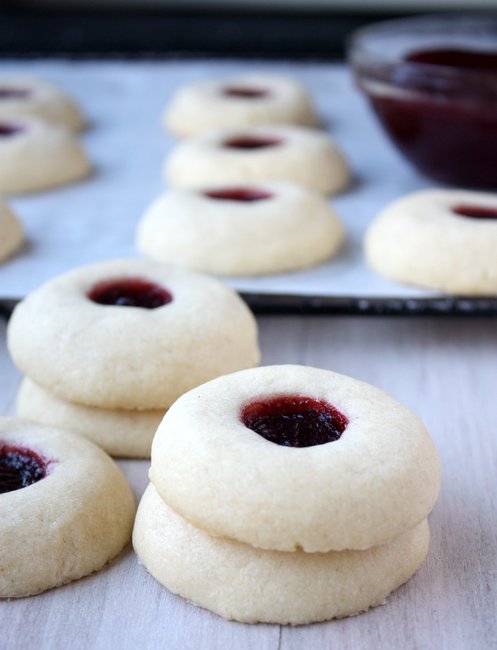
These cookies are like little magical puff bites. Maybe I should change the title, yes? Really though: They're so soft, have the best shortbread/cake batter mixture of flavor, and almost melt in your mouth. Add to that your incredibly high quality jam, and you're ready for business.
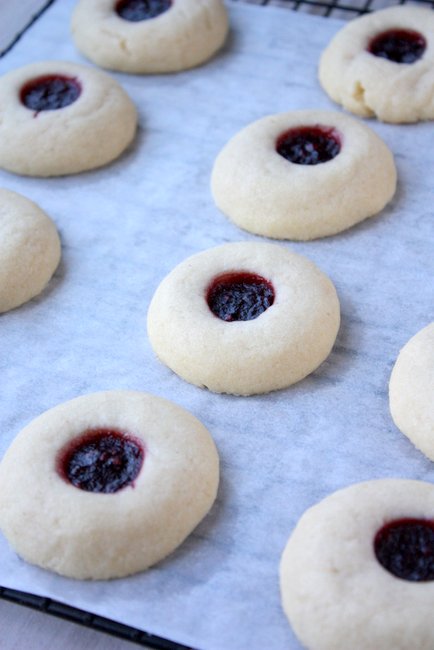
As you can see by my pictures, I didn't make a huge hole for jam — feel free to make a bigger hole (or smaller cookies!). The jam will cook down in size during baking, so fill 'em up as much as you can! And/or re-fill when they're done and cool. I did some of both. Either way, these didn't last long!
Print
Raspberry Thumbprint Cookies
- Prep Time: 15 mins
- Cook Time: 20 mins
- Total Time: 35 minutes
Ingredients
- 24 tablespoons (3 sticks) unsalted butter, room temperature
- 1 cup sugar
- 1 large egg
- 1 tsp vanilla
- ½ tsp salt
- 3 ¼ cups all-purpose flour (spooned and leveled)
- ¾ cup jam (any type)
Instructions
- Preheat the oven to 350 F.
- Cream the butter and sugar together until light and fluffy, about 3 minutes.
- Add the egg, then vanilla and salt, mixing well.
- With the mixer on low speed, slowly add the flour and mix until it just comes together.
- Roll the dough into small balls, and place on a lined baking sheet a few inches apart (cookies will spread). If the dough is hard to work with, refrigerate it for 30 minutes.
- Using the back of a utensil, or your thumb, create a hollow in each cookie for the jam. Fill with jam.
- Bake for 18 to 20 minutes: the edges will be set, but the cookies should not be browned at all, and will not look done. Let the cookies cool for one minute on the sheet before moving them to a cooling rack.
- If desired, fill with more jam.
Kara says
Okay, definitely making this one sometime soon. Yum!
Rosie @ Blueberry Kitchen says
Yum, these look delicious - I love the jammy middles!
Becky says
I just made these and they are AMAZING! I also added 1 tbsp of almond extract to the recipe. I love love love them. Thank you so much for sharing.:)
Mary says
I'm glad you liked them! These really are some of my favorites!
Annie says
how many does it make????
Mary says
Hi Annie! It's been a while since I've made this recipe, but it makes A LOT of cookies! Like ... many dozens. Sorry I can't be more specific — I'll update the recipe next time I do make these! Enjoy! xoxo
Annie says
Thank you they were amazing!!!
Rachel says
I did not have enough butter at the time, I believe I used two sticks instead of three. Everyone in my home REALLY LOVES THESE COOKIES!!!! My mom and sister said they were the BEST COOKIES EVER. I was surprised!! We make really good cookies and I LOVE chocolate chip the best, I thought they did too!!! I made them in heart shapes for the royal wedding lol!!!!!!!! It was fun-- Thx so much for this shortbread but still baking in-betwixt cookie!!
btw I also put them in the fridge until they were solid enough to form shapes. Maybe do this to not spread, not sure, just what I did. This is a keeper for us!!!
★★★★★
Mary says
Omg! I love that you made heart shaped ones!!Thanks for the kind words, Rachel! xo
Yvette Michele Preto Moreno says
I followed your recipe but I had to reduce the oven to meet my oven needs, because it runs hot and I had to reduce the baking time otherwise they would have burned on the bottoms. I used blackberry jam and strawberry jam.